Here we’re going to show you how to set up WHMCS so that you can automate the process of selling shared hosting on a cPanel server. You will need to have:
- A web server on which to install WHMCS. You should keep your main site and billing system on a different server than the one you will be hosting clients on.
- A license for WHMCS. You can buy one here.
- A hosting account with WHM access (can be a reseller account, VPS or dedicated server). Check out our reseller hosting plans.
Step 1 – Installation
For this step, you can refer to the WHMCS install guide.
Step 2 – Payment Configuration
In order to accept payment, you’ll need to configure a payment gateway. This can be PayPal or Authorize.NET for example if you’d like to automate, or you can manually process payments using the “mail in” gateway option.
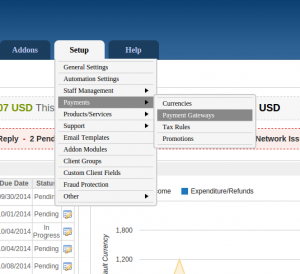
First, navigate to the payment gateway configuration page.
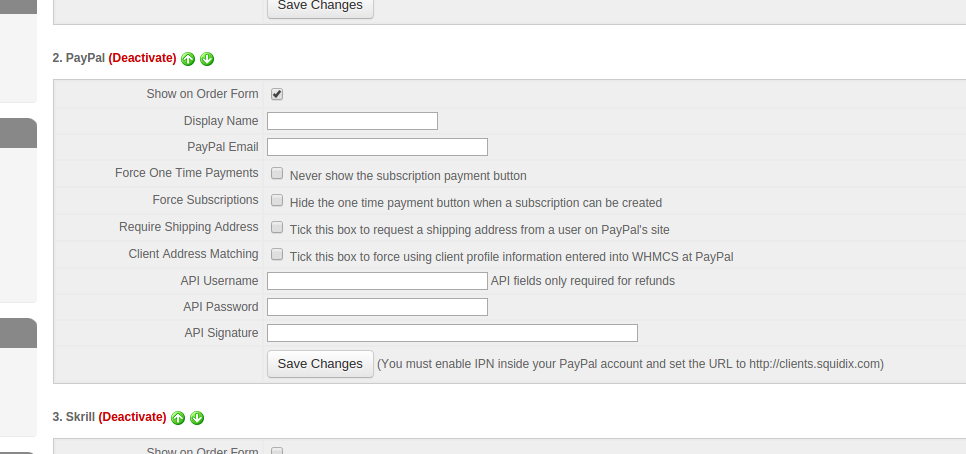
Select your payment gateway in the dropdown and hit “Activate”. Depending on your payment gateway, you may be asked for a few configuration parameters.
Fill these out to the best of your ability – if you need assistance you can refer to the WHMCS documentation.
Step 3 – Server Configuration
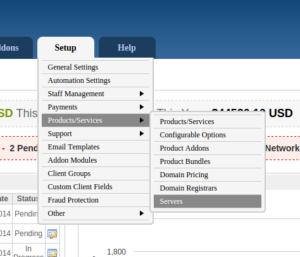
You’ll need to link up your hosting server with WHMCS in order to enable automatic provisioning.
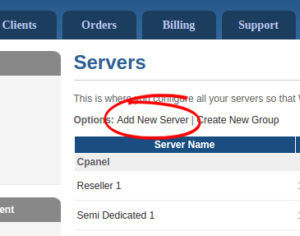
From this page, you can create a new server.
You’ll need to fill out some basic information about your server. The most important things to fill out are name, hostname, IP address, and nameservers. These are all necessary for communication with the server, and they are all referenced in the welcome email template we’ll be sending to customers.
Assuming this is a cPanel server, we’ll be setting up the authentication parameters to allow for automatic account provisioning. Select “cPanel” in the type dropdown at the bottom, along with the username and password you use to log in to WHM.
Step 4 – Product Configuration
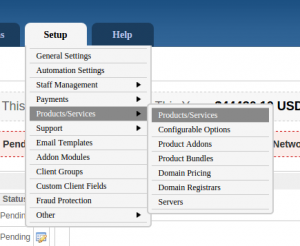
In WHMCS, hosting plans (among other things) are called “Products”. You’ll need to create a separate product for each hosting plan you offer.
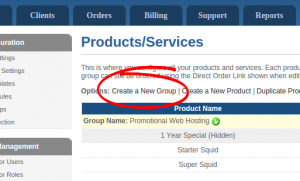
You have to create a group first in order to create a product.
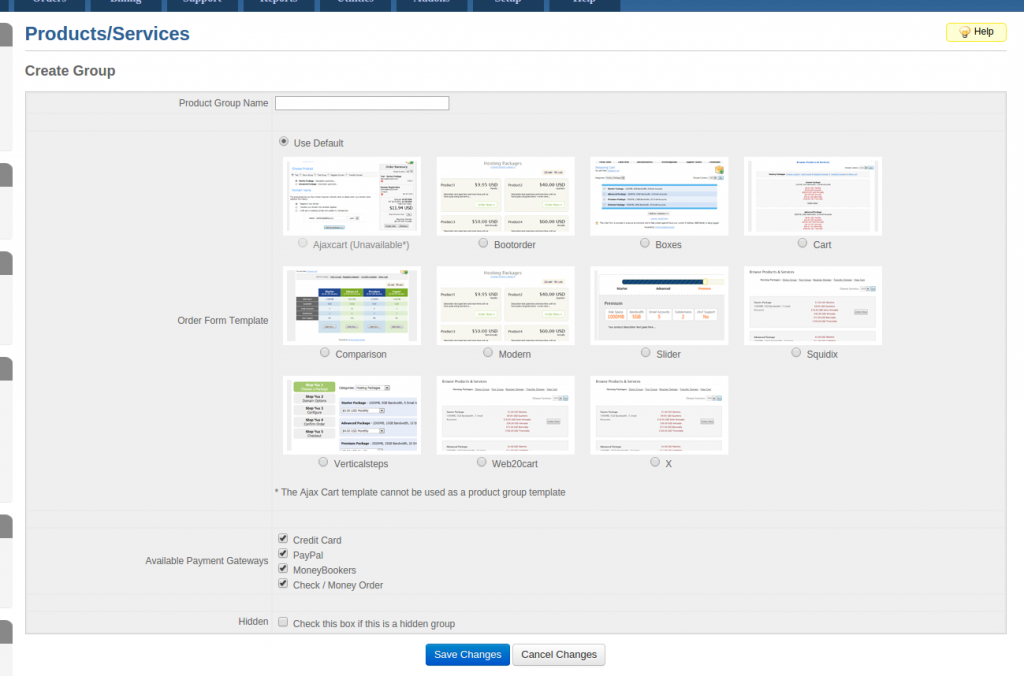
Let’s call our product group “Shared Web Hosting”
You can select an order form theme for your group, as well as available payment gateways. Unless you have specific reason not to though, you should probably just stick with the defaults.
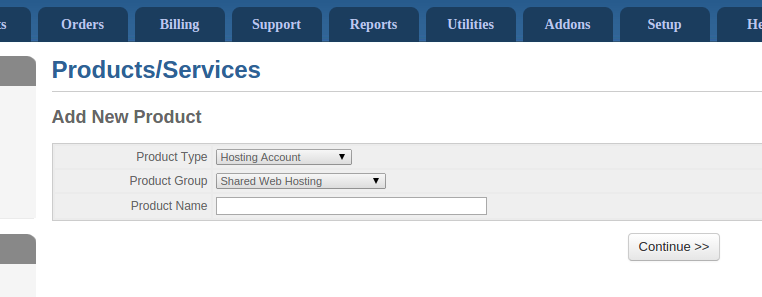
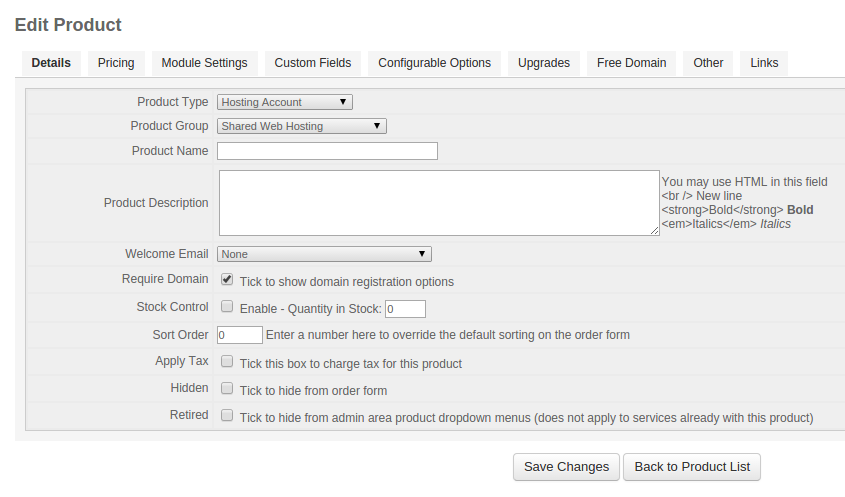
Now it’s time to create our web hosting plan as a product. The first screen will only ask you to select your product type, group, and enter a name. The type should be “hosting account” and the group should be the group we just created.
The next screen will give you a number of tabs, each with its own set of options. Not all of them are necessary here, but a couple are.
The first tab will contain some basic information about the product, such as name and description. We’ll want to fill these in. We’ll also want to select a welcome email (WHMCS includes an email template entitled “Hosting Account Welcome Email” which you can use), and the “require domain” option which will require that the user provide a domain.
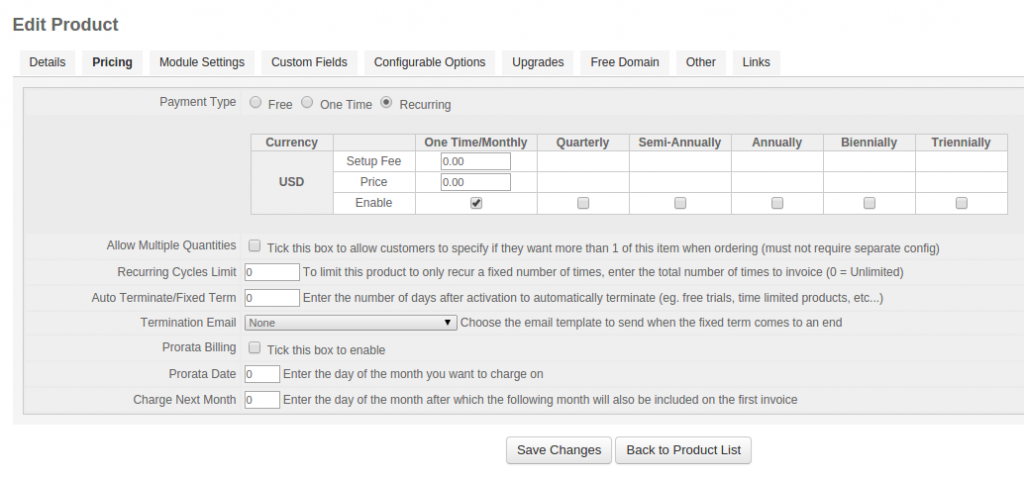
Let’s jump over to the pricing tab. Here, we can set pricing for multiple terms (make sure to select the “recurring” option). For each term you would like to enable, just tick the associated checkbox and fill in the setup and recurring costs.
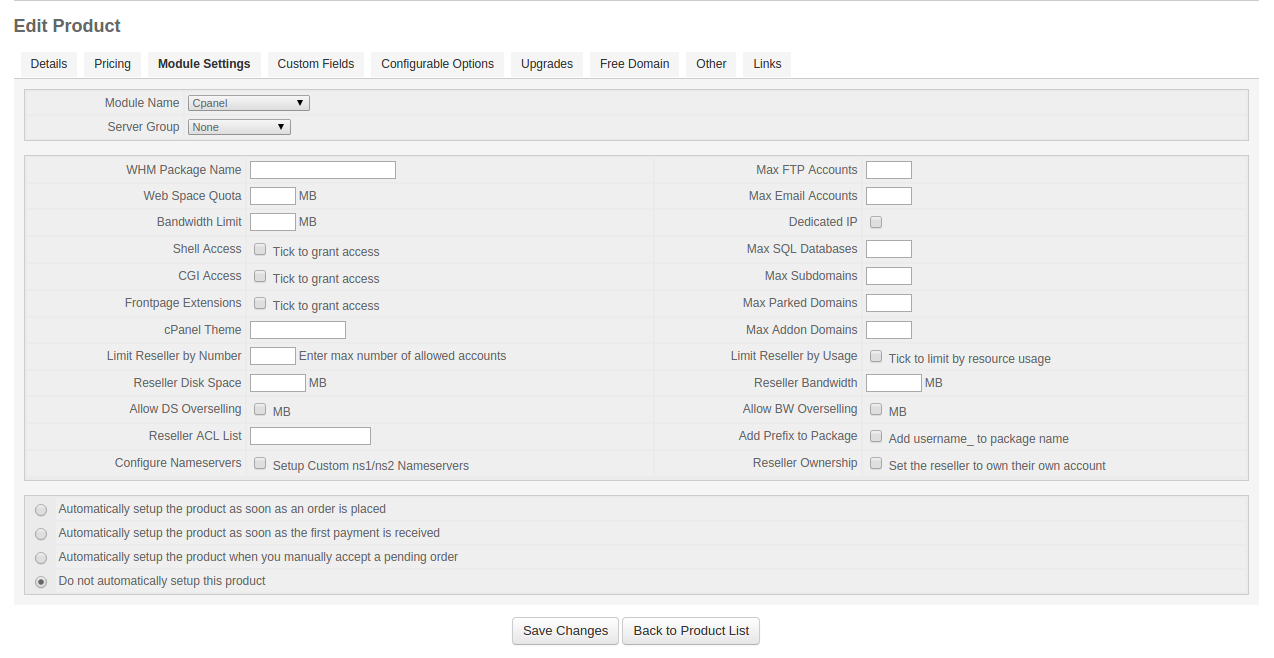
Last but not least, we should configure the control panel integration to allow WHMCS to automatically provision accounts on your hosting server when orders are placed or accepted.
We’ve selected “cPanel” in the list of modules, if you are using another control panel select the corresponding module. Each one may have different options however, and these instructions will only pertain to cPanel.
Most of these fields are optional, the only one you should fill out for now is “WHM Package Name” which you can create from your WHM interface (instruction are below).
You may also want to automatically provision accounts when an order is accepted, the option for which is at the bottom. We do not recommend automatically setting up accounts when an order is placed, because of the potential for fraud. Each order should be manually screened before acceptance.
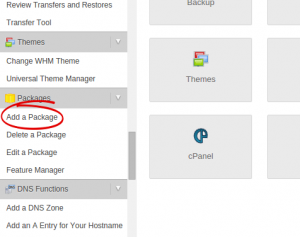
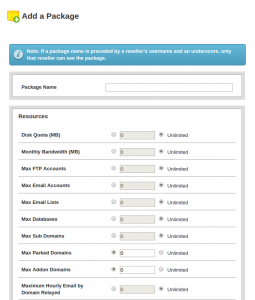
You should have a package in WHM matching the name you entered in the preceding step. To do this, log in to WHM and find the “Add a Package” option in the left hand menu.
This is where you will specify your quotas, including disk space and bandwidth transfer.
Step 4 – Signup Form
You can integrate a signup form directly into your web site, but the easiest way to go is to simply link into your WHMCS product pages to allow users to sign up.
If you go to the “Links” tab when editing your product, you will be shown a number of different links you can use. The first link is the one you will usually want to use.
And you should be open for business!

